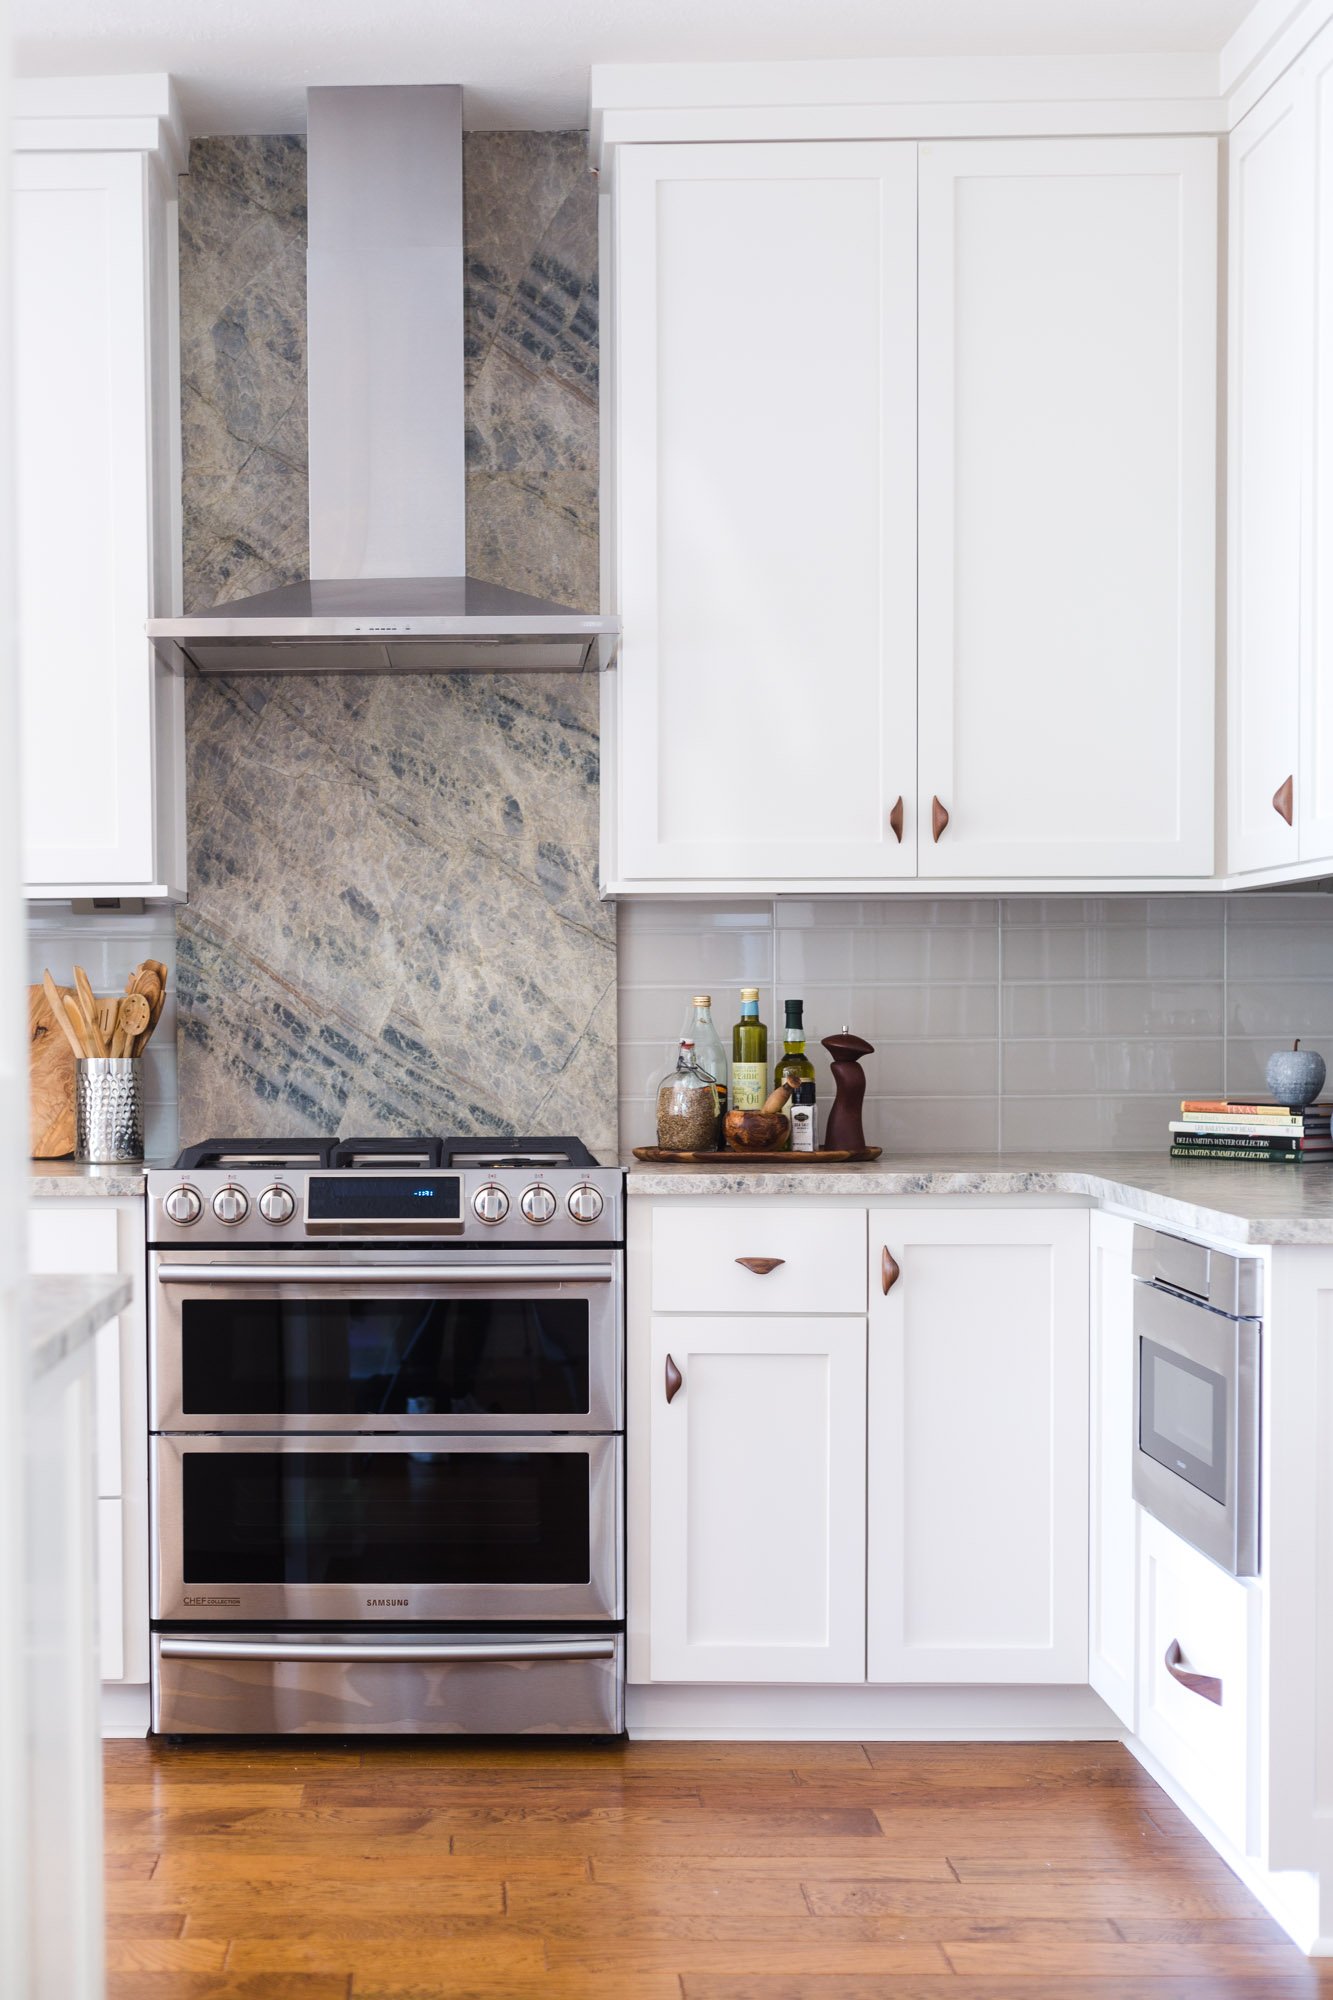
I am always getting questions about how to end the tile on a kitchen backsplash.
As you might have seen from the older kitchen backsplash post that I republished last week, if you scrolled down to the bottom, there are more than 300 comments there. They are mostly questions that have come in over the years since that post was first published.
I pulled a few of the more recent ones out to view today, as these conundrums are something a lot of people ask about often.
Backsplash tile at a peninsula bar
This person submitted a question about the peninsula bar wall in this kitchen, as shown in the pic below. One end is attached to the wall, and she wasn’t sure if that wall should get the backsplash or what to do there. (Wall 3)
Since the cooktop is well situated away from that wall, and that wall space is isolated there, not attached to a perpendicular countertop, I suggested that she just leave the splash off.
In this instance, the peninsula is really functioning as an island, in my opinion, so having a backsplash there will look odd compared to the rest of the kitchen. You can see, below, she had a mock up done.
It would create problems of having finished edges there on three sides. I rather prefer leaving it off since the cooktop is not near it at all, and then she could do some shallow open shelves or some art.
Tile Backsplash Around Vent Hood
Here’s a common dilemma, how far to take the tile up the wall at the hood area. Most people see that bit of wall space and want to run it all the way up.
I like that usually, if the cabinets on each side go the ceiling. I don’t like it if it would create a column of tile that would run to the ceiling above the cabinets. Usually people then want to run the tile over the cabinets, which in circumstances like this looks like overkill. And then you still might not have a good place to stop the tile.
Honestly, it is usually best to stop the tile at the hood and don’t run it up the wall if you don’t have cabinets to the ceiling. (I have a few examples below.)
Tile Backsplash Around the Kitchen Window
Problem #3 today is how to run the tile at this kitchen window. Where should it start and stop, etc.
This is easy-peasy if you do one thing…..add window casing around the window. It can be small like 2” if you don’t have much space, you just need an edge to die the tile into for a clean, simple transition.
I usually like to do new sills at the windows in the same material as the countertop, then the window casing can just wrap the three other sides and die into the dog-eared section of the sill. However, you can just add trim to the whole window if you want.
YOU just want your tile to die into the inside corner of that trim so you don’t have to wrap the tile into the window. It is just a simpler installation and looks neat and tidy.
See examples of all these below!
I don’t have a personal example of the peninsula island situation like the one in the post above, however, I have a few examples of the others.
This tile runs up the wall to the ceiling and looks great as there are cabinets on each side to frame in the tile. Carla Aston, Designer
See how this slab backsplash material runs all the way to the ceiling, but it looks neatly done because the cabinets go all the way to the ceiling. Carla Aston, Designer
This small 2” flat wood trim frames out these windows and dies into the quartzite sill at the bottom. It makes for a neat transition for the tile backsplash. Designer: Carla Aston
A simple, small wood trim fills the gap between window and cabinet and the dies into the quartzite sill below for a neat transition.
Upcoming Q&A - Ask Your Design or Decorating Question!
Did you know I do a Q&A in my Subscriber group on Instagram once a month? I’m doing another one for them on Saturday, April 8th, 2023.
Join my group there (only $2.99 a month, button is on my profile page) to ask your design or decorating question. You can submit via DM there and I’ll answer in my Subscriber’s stories on Saturday morning, April 8th.


